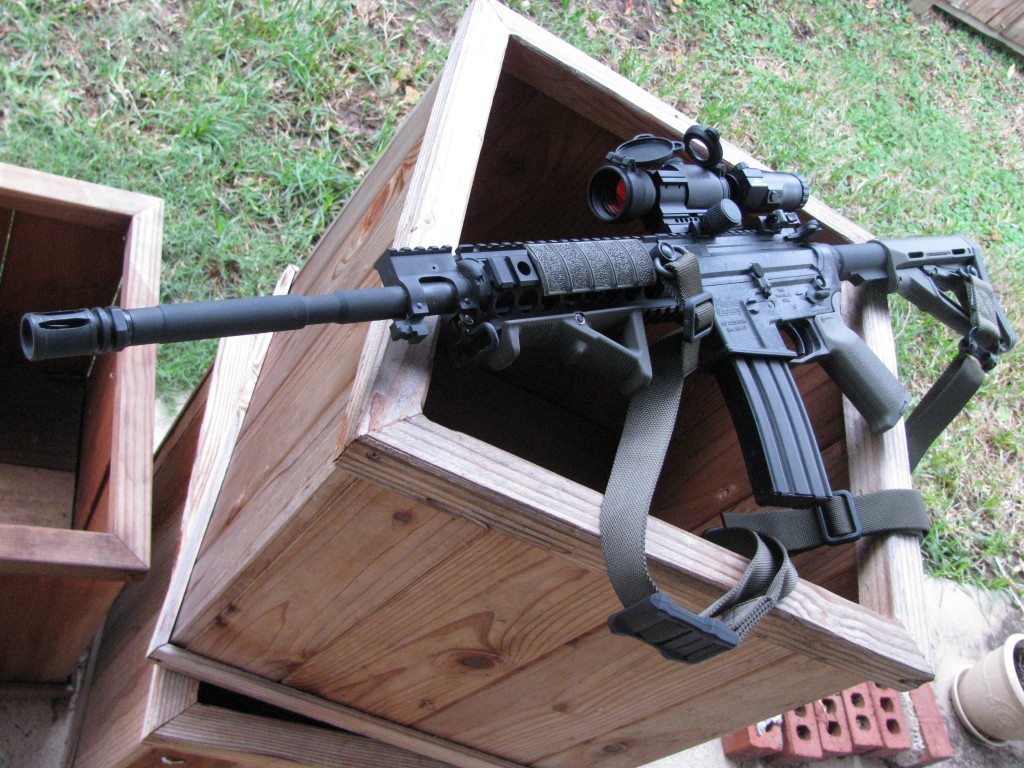
First off – yeah, not a “precision” rifle by any means, but a decent range plinker that’ll tack-drive just fine inside of 300y. Just thought that was worth mentioning in case the sarcasm in the title wasn’t on-the-nose enough.
In case you haven’t noticed, the entry price of ARs has fallen off a cliff lately. A look at the front page of Bud’s Gun Shop will usually show you at least one budget entry AR from a maker you’ve either never seen, or didn’t think you’d ever see in the AR Market, for right around $500.
Remember just a few years ago when these were hovering at $1k? Good times. Anywho, the price to build ’em has likewise plummeted, so if you’ve ever wanted to put one together, if you’re sitting on a closet full of lowers you bought during the great panic, you’ve been thinking of dabbling in a different caliber like .458, or you just want to mix ‘n match a new complete lower and barreled upper to get what you want, now’s the time.
I happened across some good sales around Memorial Day, but since checking, the prices on some of these have actually stayed at the sale price, so this info should still be pretty close to accurate. As the first thing I acquired to kick this off was a Palmetto State Armory complete lower, I figured I’d keep it simple and go with a barreled upper and see if I could put something together that would reliably drive tacks at paper or varmints out to 300 yards on the cheap.
Since I was yet to foray into FDE colored stuff, I figured for my cheapo “blemished” lower, I’d have Palmetto send me one with FDE furniture. I figured I’d probably be chucking it anyway, so why not have a few FDE bits in the parts bin with all the black stuff. Note on the “blemished” lower – best I could find that counted as a blemish, was an ever so slight discoloration in the finish. Most people I know that get these never find the “blemish.” Unless someone with inside info tells me otherwise, I’ve got to assume if it gets knocked over, or someone sneezes on it at some point in production, it’s marked “blem.”
For the barreled upper – I tried to find something over 16″ in a profile that made sense, but failed to find either while keeping the price point, so settled on the ubiquitous 16″ M4 profile. Specifically, I went with what was on sale at Primary Arms. I’ve heard mixed thing about Radical Firearms’ stuff, but most of the issues are with complete rifles, and typical of cheap BCG assemblies. In this case, I’m just going for a barreled upper, and at that price, I’ll work it out, even if I have to replace the gas block or something. Plus, it’s always nice to throw business to a local manufacturer.
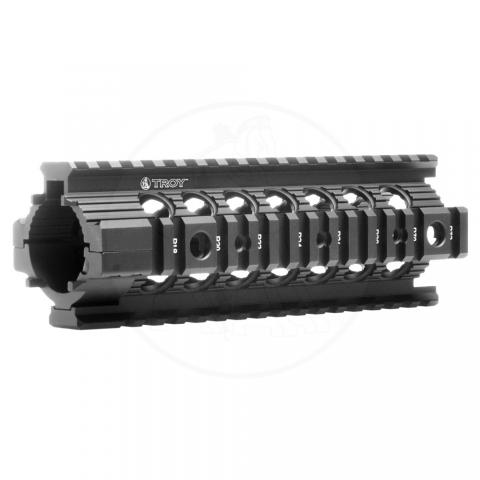
It’s also worth noting that the cheapest they had on sale came with a rather interesting hand guard. It’s a free floated round tube with MOE compatible slots. As best as I can tell, it’s a Radical Firearms original part (it is marked with their logo on the forward part of the rail). While I like the look, and the round shape and size are pretty comfortable – the finish wasn’t great, and after now having used it, I can say, MOE attachment sucks – no wonder they developed m-lok.
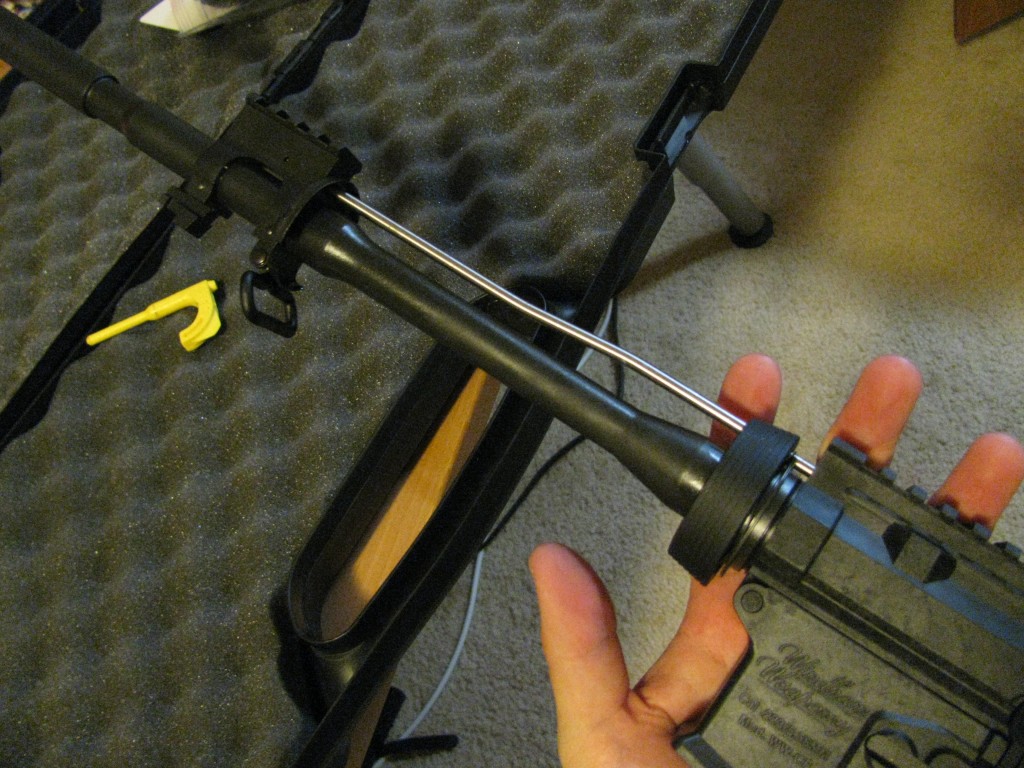
So, upper and lower mated with no problem, rifle now needs a heart. Luck had it that PSA had a Nickel Boron BCG on sale for $100 (and, despite being advertised as a daily deal, appears to *still* be on sale for that price). I’ve never had a bling BCG, so figured I’d get it a shot.
Note: it’s not a full auto BCG, as a lot of folks tend to like using, with the thought it gives it extra strength / weight due to the extra material, but it’s also a $100 complete NiB BCG, so make of that what you will.
Also needed a charging handle, and figuring I was going to scope this one, and riding on the bling high of the NiB BCG, I went with a Gunfighter Mod 4 CH from Primary Arms that I’d already had waiting for a project in the parts bin, so in it went.
So that’s it, the rifle now passing function check, it was time to put some bits and pieces on there to make it capable of what I wanted out of it. I already had a perfectly decent optic not in use, an older Bushnell Banner 4-12x40mm Adjustable Dusk/Dawn scope. It hadn’t had a home in a couple of years, and punching paper at the range or bulls-eyeing prairie dogs doesn’t require mil-dots or fancy target turrets, so this will do. I also had a cheap, but serviceable AR mount that would work for said scope. I’ll include both of these, as well as the charging handle in the final price, but in my case, I didn’t have to worry about them.
This brings me around to one of my final points – with the FDE funiture on there, I figured I’d delve into one more thing I’ve been meaning to try out, and this being a cheap build, I’ve got no qualms about it – rattle can painting a rifle. After doing a bit of research and running across this:
(Credit to jwfuhrman on m4carbine.net)
I went with Rust-Oleum Satin Dark Taupe. It still ended up being a bit lighter than I wanted, probably a closer match to Magpul’s new “Sand” color, but matching shades of FDE is pretty tricky business, and I’m still happy with the way it turned out. It’s also worth mentioning that this paint took a good 12 hours before it wasn’t tacky, and about a full day before I was comfortable handling it. It’s also a tad glossier than I’d have liked, but the feel to the touch reminds me of the satin Cerakote finishes, which is exactly what I wanted. Also, it’s already began to dull a tad, and should lose that extra sheen with regular use.

Spraying it was as easy as masking parts off and dusting until the black was covered. It’s worth noting that you’d probably want a good clean and degreasing with brake cleaner or similar before doing this under normal conditions, but as these were new in the plastic and unlubricated, I didn’t need to do that kind of prep.
While I haven’t gotten a chance to test it at range due to weather lately, I did a 25 yard 100 yard zero at a local indoor range using free-to-download targets from ARMA DYNAMICS. These are a pretty good resource to get a quick and dirty zero if all you’ve got access to is an indoor range. In shooting it, I noticed two minor things this rifle could still use to make it that much better at it’s given objective, that would still be within what I consider a budget price range:
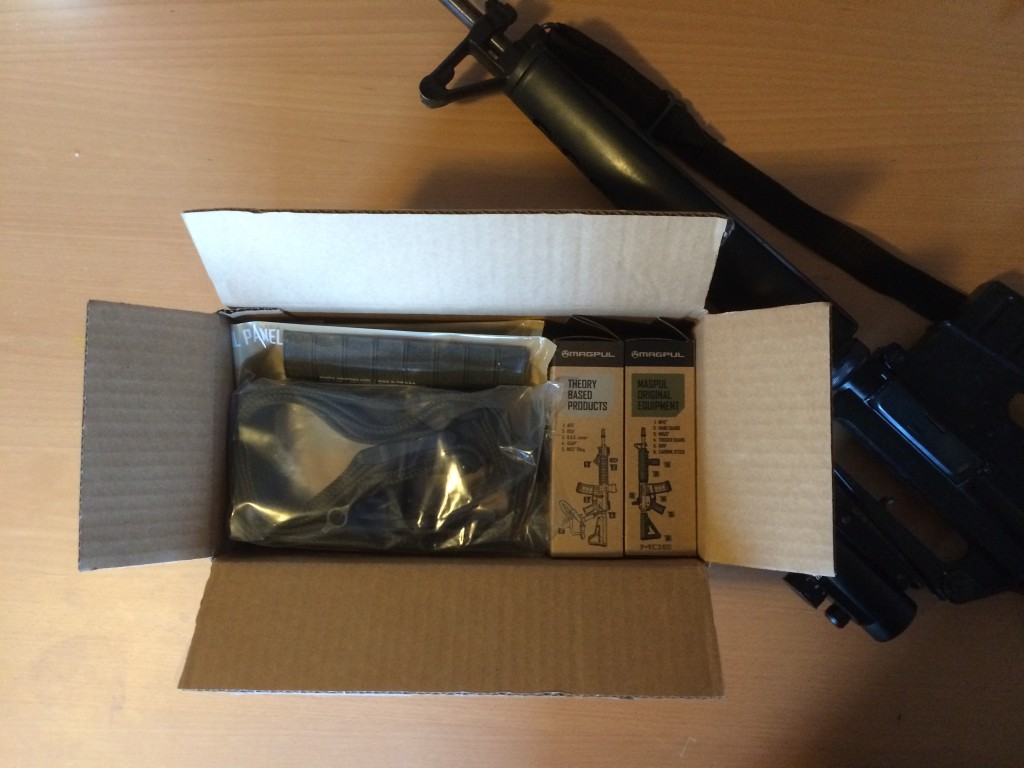
A bipod (which also required mounting solution, and as this tube had MOE slots, I went with a Magpul MOE 5 slot rail segment)…
…and a fixed stock. I’d been wanting to try out the the carbine MOE Fixed stock I’d been seeing. With the extended pad, it’s still just a tad shorter than I’d like, about the length of a 6 position one in from the longest, but it’ll do.
So that’s that, for now. I’ll give an update when I get to stretch it’s legs a bit, but for the all-in on this one, even if I had to buy the parts I already had on hand, it’s a steal. As stated at the beginning, if you’re not yet in the AR club and want to, or simply have AR projects you’ve been wanting to start (or finish), now’s the time.
Build Price Breakdown:
BLEM PSA AR-15 FREEDOM CLASSIC LOWER – 7779346B
$129.99
PSA FREEDOM 5.56 NICKEL BORON BCG – 516445123
$99.99
Radical Firearms 16″ 5.56 M4 Barreled Upper – with 10″ MOE FGS
$179.99
Bravo Company / Vltor 5.56/.223 Charging Handle Mod 4
$49.95
Bushnell Banner 4-12x 40mm Adjustable Obj Rifle Scope
$89.99
CCOP High Profile AR-ArmourTac Rifle Scope Mount Rings
$33.55
Rust-Oleum 241238 Satin Enamels Spray, Dark Taupe
$3.98
Leapers Tactical OP Bipod
$32.97
Magpul MOE Polymer Rail Section – 5 Slot
$4.49
Magpul MOE Fixed Carbine Stock
$23.99
Magpul PRS Extended Rubber Butt-Pad 0.80″
$11.95
Total Price as Configured: $660.84
No shipping prices were required in the above build
If I was to spend a bit more on it, the first thing I’d go for would be replacing the milspec trigger PSA included. It’s not the worst, but it’s a typical milspec AR trigger. I’d try to catch a sale for a Timney or Geissele.


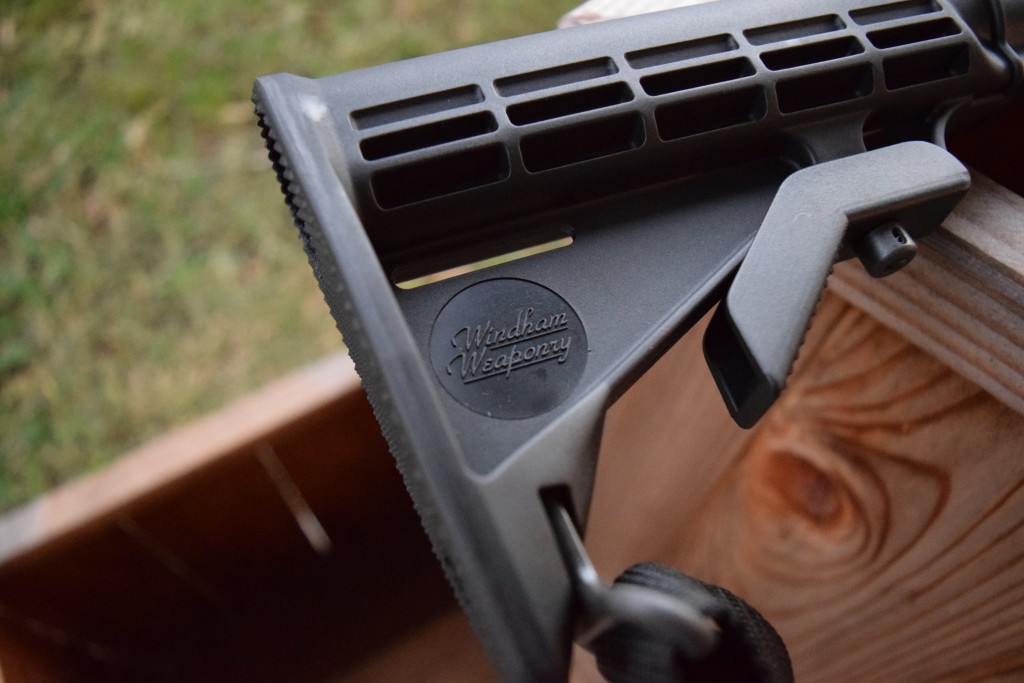

 I’d also been wanting to try out an Angled Foregrip (AFG / AFG-2). In addition to the above, I also ended up picking up a Ranger Green MS4 Dual QD Sling from Magpul that’s a combo 2-point / 1-point sling, and allowed me to make use of my QD points on the CTR stock and Midwest Industries free float tube.
