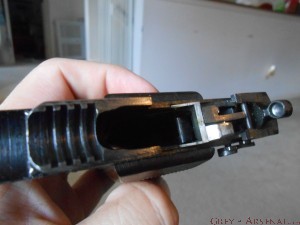
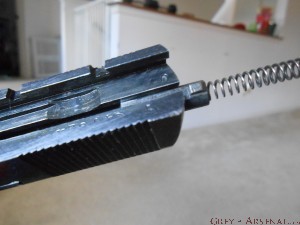
“Unique” Model 17, “7.65 Court 9 Coups” Field Strip

DSCN1432

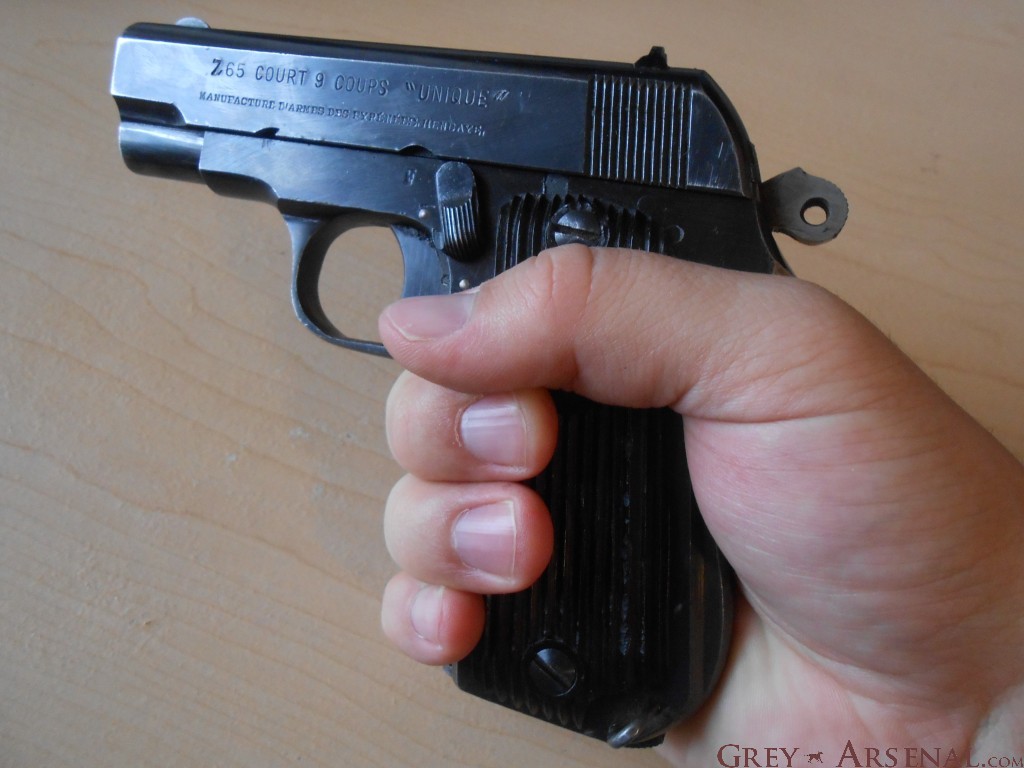
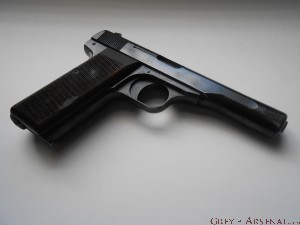
So, we’ll go ahead and continue with the series on don’t-build-them-like-they-used-to handguns, and this time, we’ll be moving from Belgium to France.  Specifically, Hendaye, France- as this was home to Manufacture D’Armes Des Pyrenees (MAPF) from ~1923 to 2001.  From 1928 to 1944, they produced this handy little shooter, the Unique Model 17.DSCN1434

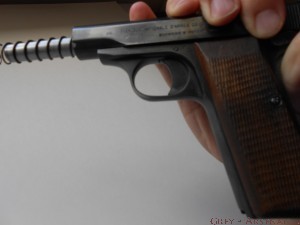
As you can see, the markings on the slide state 7.65 COURT 9 COUPS “UNIQUE” which, I have to admit, made identification of exact model a tad difficult.  What the markings on the slide are indicating is “7.65 Short (7.54 Browning), 9 Cartridge” and then the type of weapon “Unique” which referred to the brand.

DSCN1443

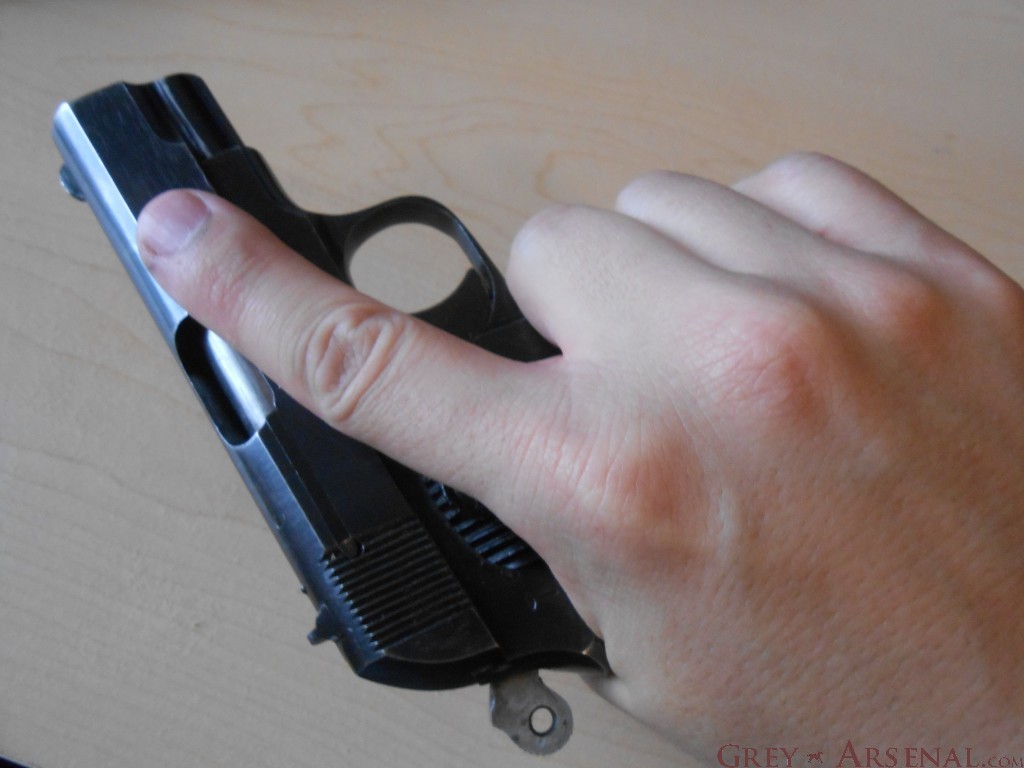
As I said, it’s pretty handy, and though it has quite a bit of heft to it, it’s very well balanced.  Functionally, it’s fairly similar to a handgun I’ve previously talked about on this blog, the Colt 1903 Pocket Hammerless (misnomer, as the Colt simply had a hidden hammer).  That said, the craftsmanship is no where near as fine as on the Colts or FNs from this era.  The tolerances are very loose, and though when assembled and shooting it feels fine, are very noticeable when you break it down.  The finish work throughout is also pretty terrible, and it shows when looking at the condition of many surviving examples.

So, on to the guide.

  • Remove magazine and ensure firearm is unloaded.
  • Retract slide to the point that the safety lever can be swung forward and catch the slide.
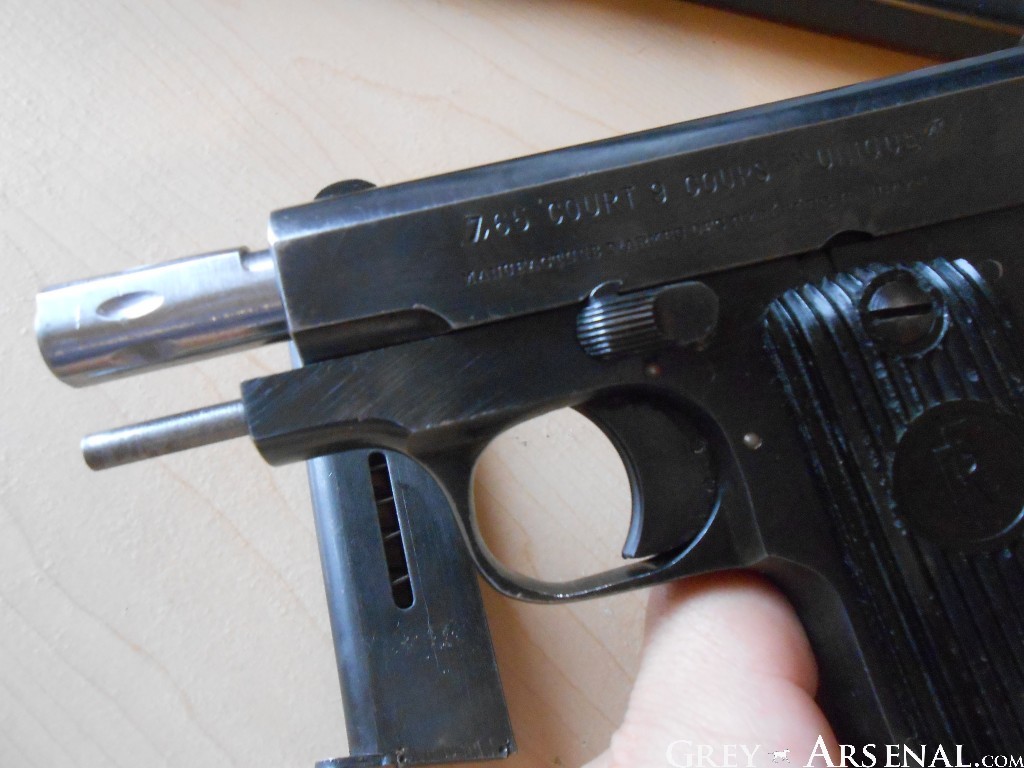
  • DSCN1436
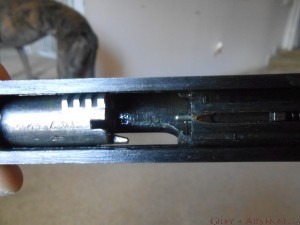
  • Similar to the Colt, rotate the barrel 90^ clockwise (from front)
  • Disengage catch and withdrawl the slide from the frame.
  • Rotate barrel 90^ counter clockwise and remove from slide.
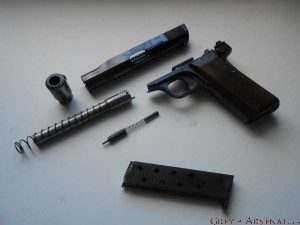
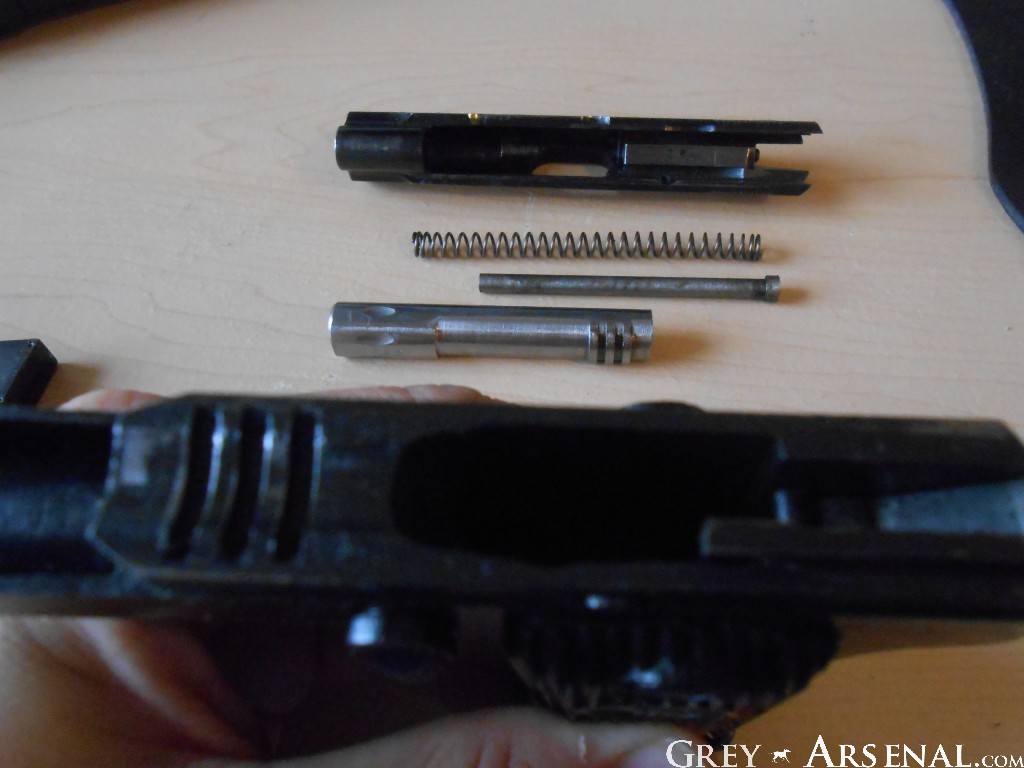
  • Remove Guide Rod from Frame and pull the Spring off of it.
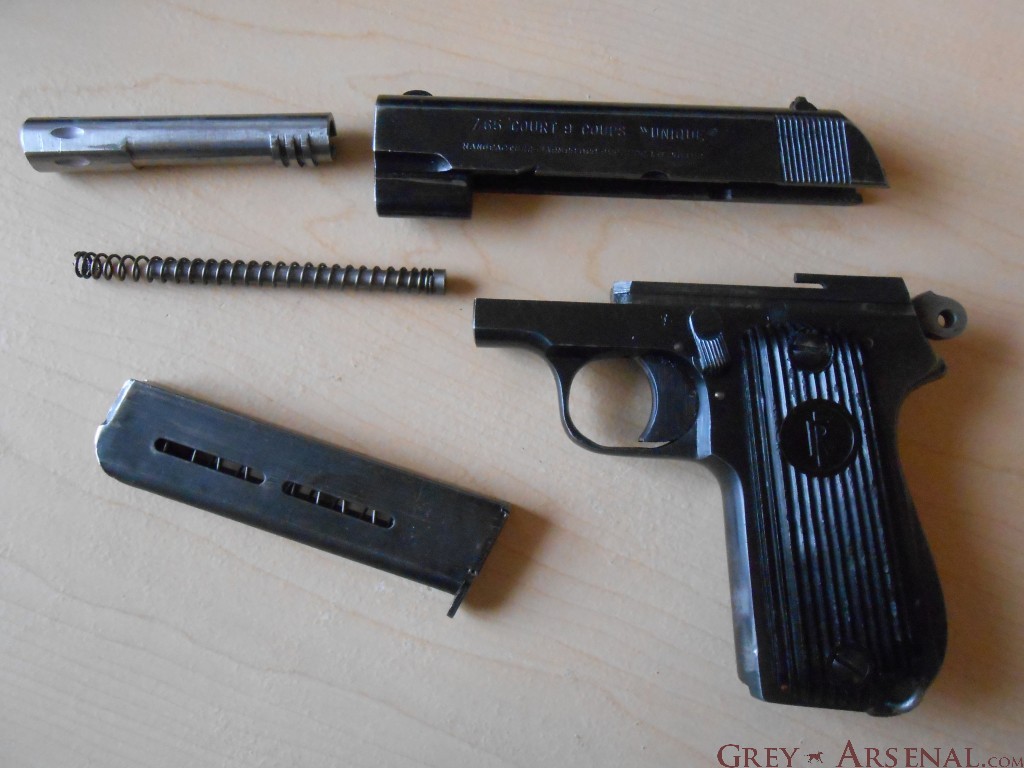
  • DSCN1437
  • This is as far as you need to go for a basic cleaning.  Grip panels can be removed easily with a flathead screwdriver to access the Trigger Bar and clean out the Magazine Well if required.
  • Clean thoroughly and oil all contact surfaces.  These include the Barrel Lugs (frame and barrel), slide rails, and a light coating on the barrel itself and the Guide Rod.  Basically, if it looks like something rubs it, get a light coat of something on there.
  • DSCN1440
  • Reassembly can be a bit tricky due to the loose-as-hell tolerances I mentioned.  Getting the Barrel to re-engage with the Barrel Lugs in the frame can be a PITA since there aren’t any markings as some others (Colt) include.  But, I’ll give you the foolproof method here at Grey Arsenal
  • Reinsert Guide Rod into Spring, and reinsert the assembly into the hold in the Frame below the barrel, in the orientation it was originally (see earlier pictures if needed)
  • Replace the Barrel into the Slide, and when able, rotate 90^ Clockwise to lock it into the slide (term used VERY loosely).
  • Begin to replace Slide onto the Frame, taking care to line up the Guide Rod with it’s place in the Slide.
  • DSCN1442
  • At this point, things get fun, and by that I mean extremely frustrating if you haven’t done this before and aren’t using an awesome guide like mine.  You’ll want to move the slide back to the point where you can engage the safety/slide lock again, but be sure to move the barrel with the slide with one of your fingers.  If not, the loosey goosey tolerances will cause the Barrel to move around in there and you wont get it to engage the lugs.
  • DSCN1436
  • Once you have it locked up, Rotate the Barrel 90^ Counter Clockwise, which may be tough depending on the level of lubrication you gave it, and your particular Model 17.  Once you’ve rotated it properly, you should be able to disengage the Safety and the slide won’t be able to be pulled off.  Give it a try- if it comes off, try again.  If it stays put, Congratulations.

DSCN1444

For most owners, this handgun is the definition of a Curios & Relics class firearm, it’s an odd, storied little French autoloader that was probably handed down and down from a relative who brought it back as a WWII trophy.  Although it’s a “small” caliber, as I’ve mentioned before, some hot-loaded 7.65 rounds are still no joke, especially when you have a small package like this that can have 9+1 of them being carried Condition One.  Given the choice between this and a contemporary sub-compact concealed carry such as LCP or Sig P238 in .380, I’d readily choose the one that probably saw a WWII battlefield, or the mean, baguette-scented, streets of 1930’s Paris in the hands of a LEO.  Did I mentioned how nicely it fits in your palm?

Mossberg 500 ‘Ultimate Arms Gear’ Kit Review / Install Guide

DSCN1417

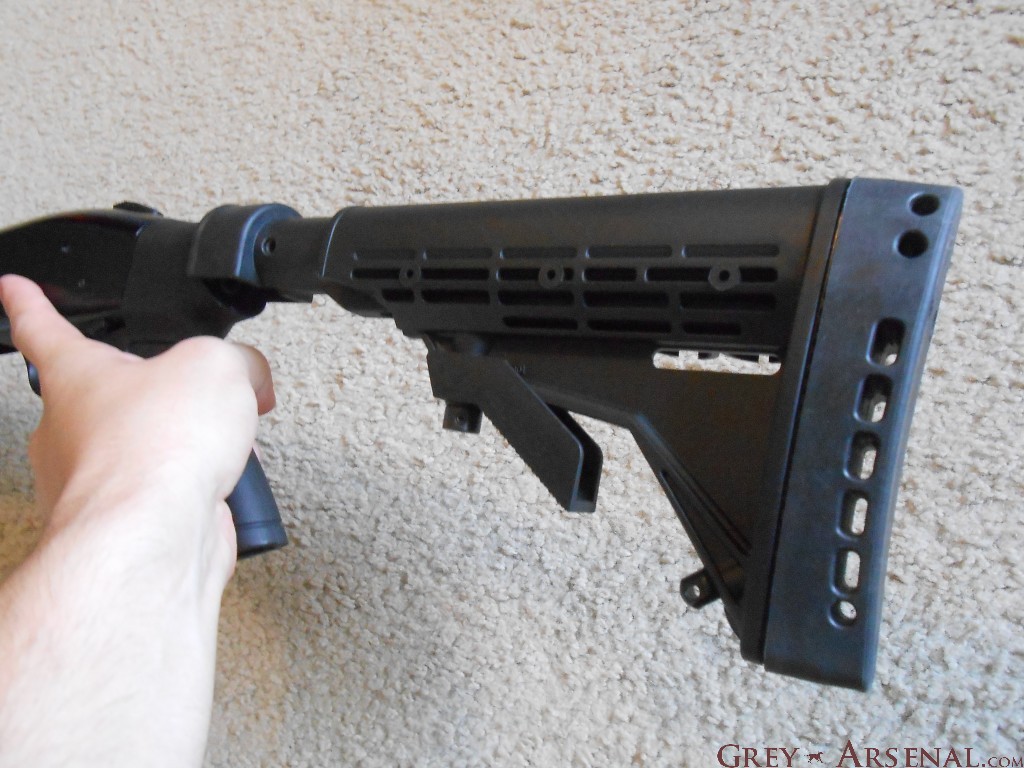
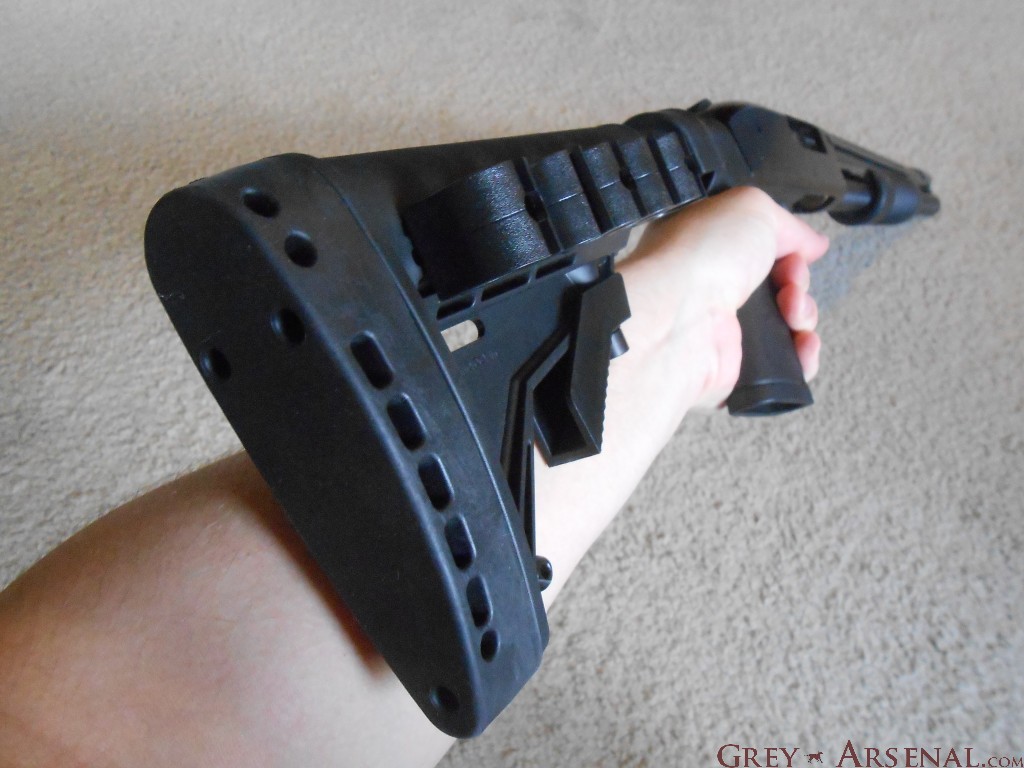
I recently went shooting with a friend who had put a Kicklite Recoil Reduction stock on his Mossberg 500.  I liked the feel of the AR-style stock, and the recoil reduction did feel nice with heavier loads.  After thinking about it, I figured I’d accessorize my old Mossberg 500 Cruiser a bit, for my audience’s benefit, of course.  While I was looking, I decided I didn’t need to spend the extra money on the recoil reduction system, but Kicklite also makes a “Field Series” that has the same great feeling butt pad (seriously, this thing is really soft in the right places) but without the recoil absorbing system in the “buffer tube” that’s in the more expensive models.  I ran across a kit with a few extras for the same $69.95 MSRP as the Kicklite Field Series and free shipping.

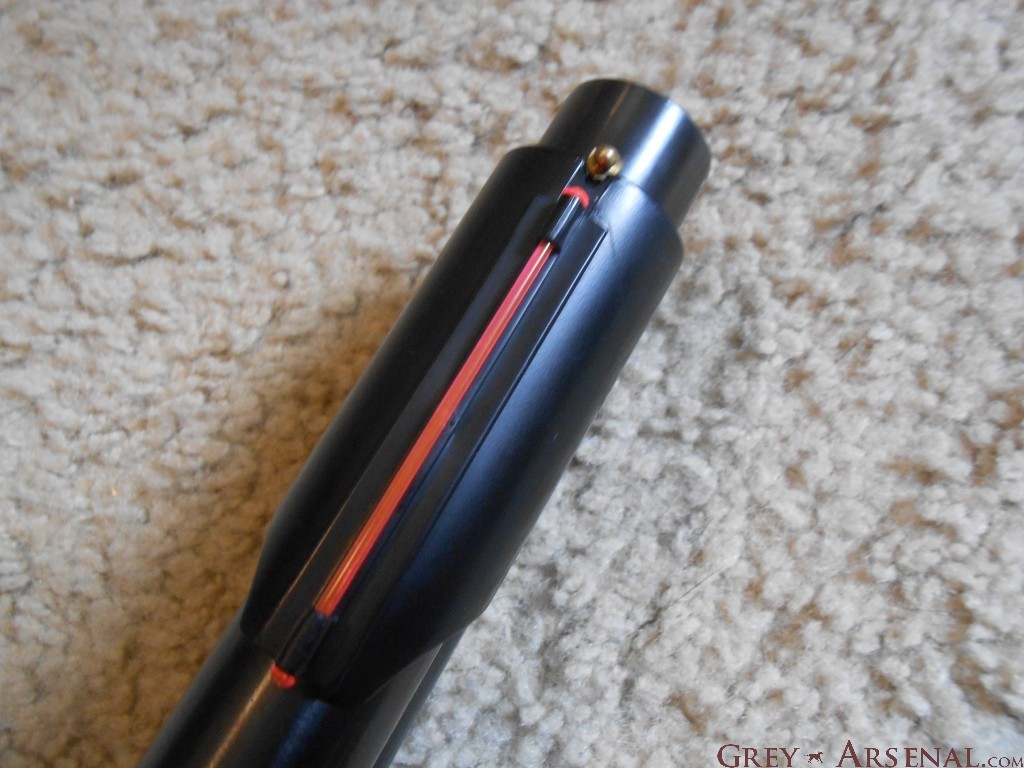
It includes the Kicklite Field Series stock, a Shell Holder that can be attached to either side of the stock, and a TruGlo Fiber Optic sight (though it may be a knock-off, works all the same).DSCN1420 DSCN1424


Anyway, here’s the rundown of my thoughts on it:

Stock feels nice, is just as adjustable as a standard 6-position AR stock, is angled down just slightly making a decent cheek weld easier, pistol grip feels fine, the whole package is solid.  As mentioned before, you won’t believe how nice that buttpad feels on your shoulder, even after a while of shooting.

The Shell Holder could be better, as it’s just hard rubber, but it’s easy to mount on either side of the stock, and for my purposes it seemed to hold the shells nice and tight, but reviews on Amazon are mixed- I pretty much considered this just a bonus though, and as I said, it worked just fine for me.

The Fiber Optic front sight is pretty awesome, much nicer to look at from behind than stock gold bead on there.  Held on just fine, despite what some of the other reviewers had said.  Also very easy to mount- more on that in a moment.

Installation Guide

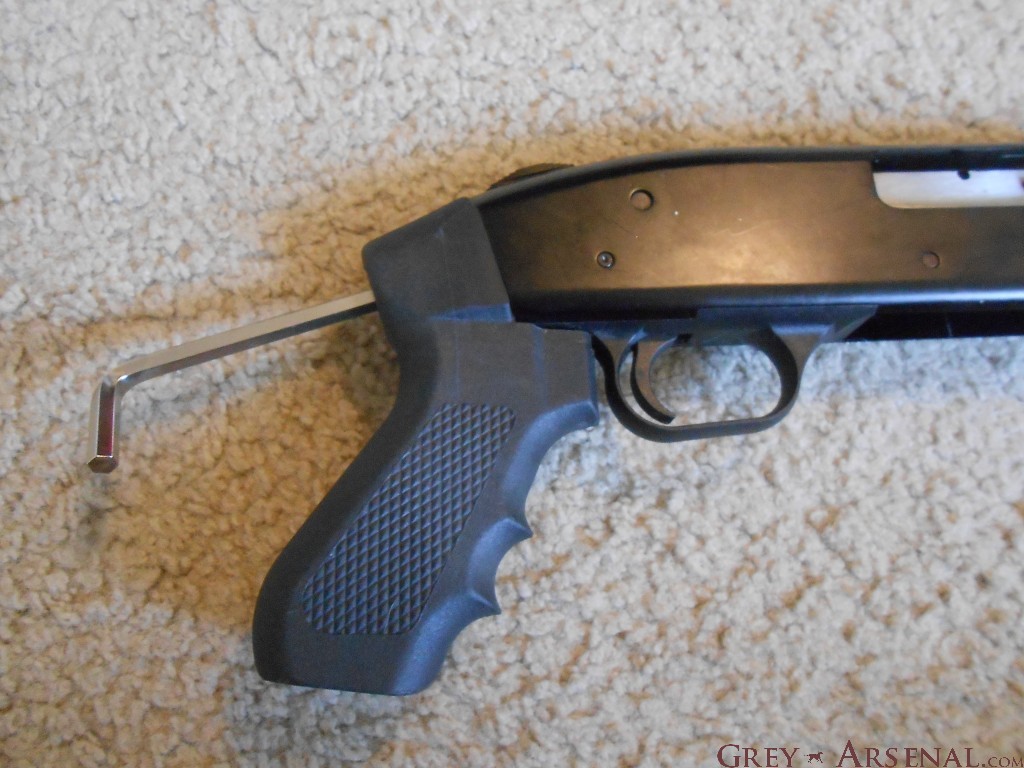
First up, the stock.  This may vary a tad depending on your current configuration, as this was written based on a Cruiser model (pistol grip only).  The only tools here that you’ll need with the kit are a 1/4″ Hex Key and a regular sized Phillips Head Screwdriver.

DSCN1428

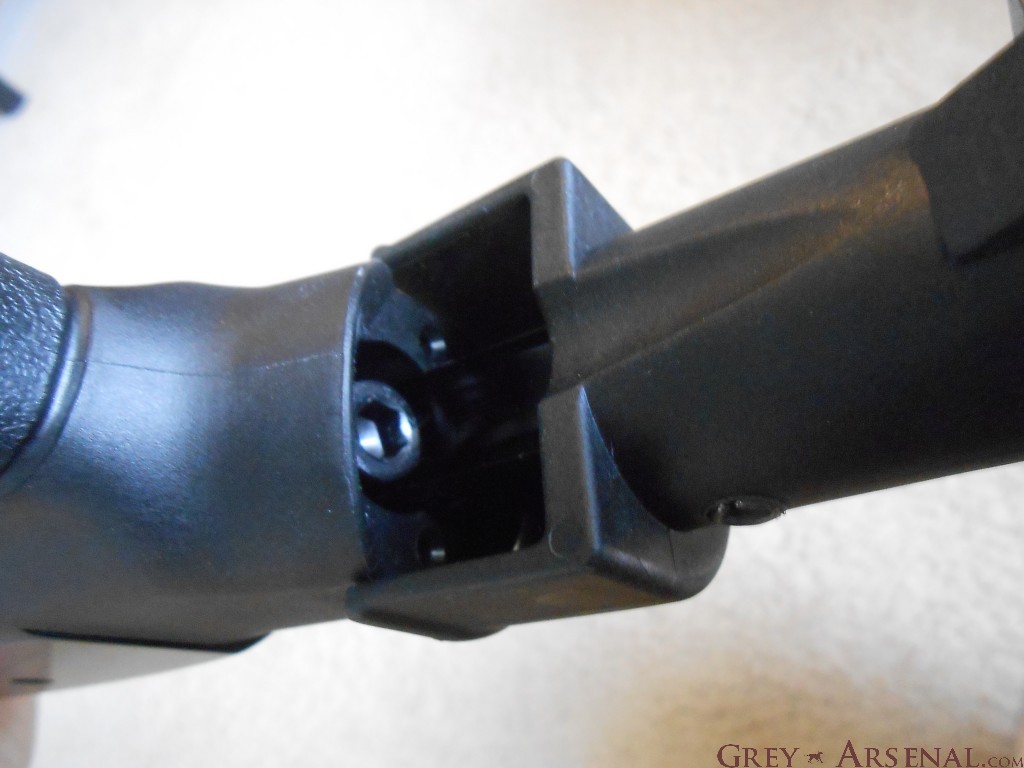
Unscrew bolt on the rear of the grip with Hex Key as shown.  Be sure to hang onto the washer and crush washer (if applicable).  The new stock lines up perfectly, though took a bit of a nudge to get it all the way on there (fits pretty tight).DSCN1431

Replace the Hex nut w/ washers into the same location, and tighten.  The angle is a bit odd, so it may take a series of short turns and re-positioning, but it’ll eventually get on there nice and securely.

The Shell Holder comes with a couple of small screws, and is pretty self explanatory.  Just line up the holes in the Shell Holder with the pre-made holes in the stock on the side of your choosing, then screw in the provided screws until tight.

DSCN1426DSCN1425

Lastly, the Fiber Optic sight, which was a tad confusing, but only because I felt like I was going to break it putting it on.  It’s tougher than it looks, however.  Basically, just get it in place above the barrel where it’s going to go, lining up the front notch with your front bead sight.  When in place, push down with your thumbs with an even pressure on the front and back, and it’ll snap on there.DSCN1422

If you didn’t get it right the first time, it’s seriously difficult to move due to how tight it fits, it’s better to pop it back off from below and try again.

Well that’s that.  Oh, maybe not, the links in this review were specific to the 12ga Mossberg 500.  If you have a 20ga Mossberg (500C), use this link.  The whole package here is complimentary, the stock along with the front sight is great, and the shell holder is a nice bonus.  Also great for the price.  I’ve only had it to the range once, but it feels pretty solid.  I’ll update if that changes.

FN Model 1910/22: John Browning goes to Europe

DSCN1394

In a previous post, I covered the Colt Model 1903, now we’ll move on to another John Moses Browning .32/.380 design which, just as before, and as always, was ahead of it’s time.  Except this time, Colt didn’t want to make it, and looking back with that 20/20 hindsight, that was probably a poor choice, since the FN Model 1910 was in production all the way until 1983.

DSCN1396

Innovations in this model included a new type of recoil system, wherein the recoil spring surrounds the barrel.  This made for the handgun’s signature slim design and light weight, as it removed the need for a guide rod.  This style was later used in the Walther PPK and made standard in the Makarov.  It also incorporated a Striker firing mechanism, included a grip safety similar to the earlier Colt 1903 and later 1911, a magazine safety (no trigger activation without a magazine inserted), and an external safety lever at the rear.  This made up what was referred to as the “triple safety.”  Hmm, an innovative striker fired handgun with triple safety features… can we get some photo comparisons between JM Browning and Gaston Glock, we may have an immortal engineer on our hands.

DSCN1395Anyhow, in 1922, some modifications to the design were made, lengthening the barrel, slide, and handgrip, lending to increased accuracy and an additional 2 rounds in magazine capacity.  This was done for the purpose of military contracts.  Sadly, the military they’re most associated with would be the German army, as they were produced by the Nazis after Belgium was occupied.
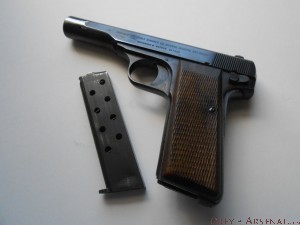
This guide is specific to the  Model 1922 or 1910/22, but for a Model 1910, simply ignore the steps involving the Front Barrel Cover.  Obviously (but I’ll say it every time) make sure the weapon is unloaded, and no ammunition is in your workspace.

  • Remove magazine from weapon by pressing the magazine release on the bottom of the grip to the rear, and withdrawling.  Also, disengage the thumb safety if it’s engaged.DSCN1397
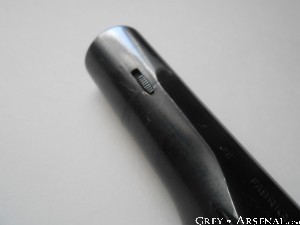
  • Find the lever on the front lower left of the slide, this is used to release the front barrel cover on the 1922 model.DSCN1398
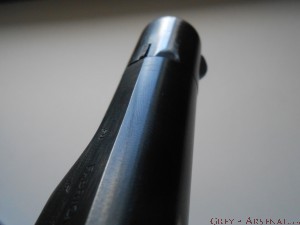
  • Twist so that you’re twisting the front sight blade towards the right side of the weapon.  When it’s at 90^ from it’s original position, the front barrel cover should pop off revealing the front of the barrel and spring.DSCN1399DSCN1400
  • This is the only tricky part, as unlike the Colt 1903 and other handguns that use a rotating barrel design, there’s no mark showing you how far you have to pull the slide back to free the barrel to rotate.  See picture for approximation, but basically slide it back slowly and keep attempting to twist the barrel (same direction you turned the barrel cover).  Once you have rotated it as far as you can, you should be able to withdrawl the slide forward off of the frame.DSCN1401DSCN1402
  • Rotate the barrel the rest of the way in that direction until it’s lugs are no longer locked into the slide, and withdrawl it from the front of the slide.  Remove spring for cleaning.DSCN1403 DSCN1404
  • Remove the firing pin from the rear of the slide.
  • Clean, then reapply lubrication to obvious contact surfaces (groves, barrel lugs, etc.) remembering that a little goes a long way.DSCN1405DSCN1408

Reassembly:

  • Reinsert firing pin into channel, observing how the post fits into the grove.DSCN1406
  • After replacing the recoil spring, reinsert barrel into slide from the front with the lugs facing down.  When the lugs are lined up with the gap where they engage with the slide, rotate the barrel 90^ into them.
  • Replace the slide onto the frame and again begin feeling for that spot.  When you’ve found it, rotate barrel the opposite way as before until it locks in place.
  • Attach front barrel cover with the front sight blade 90^ from center to the right (same direction as when it popped off).  Push flush with the frame and twist so that you’re moving the sight blade back up into position, it will click into place.  Be sure not to do this backwards, or you’ll end up with a front sight post on the bottom :pDSCN1409