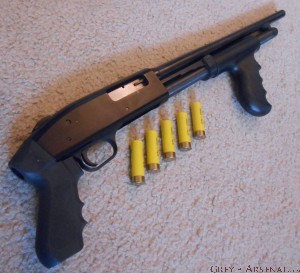
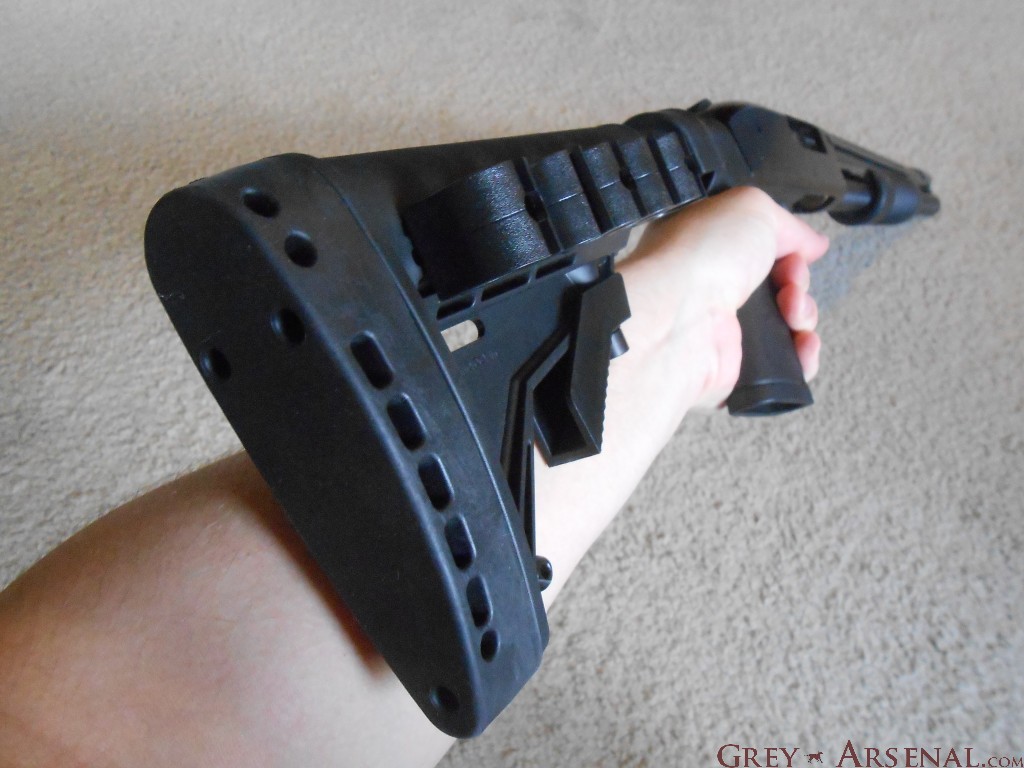
Alright, this one is going to be short, but I got a request from a new Mossberg 500 owner (and new shotgun owner in general) without a manual who wanted some basic instructions, such as safety, loading, unloading, that sort of thing. This user is already aware of basic firearm use and safety.
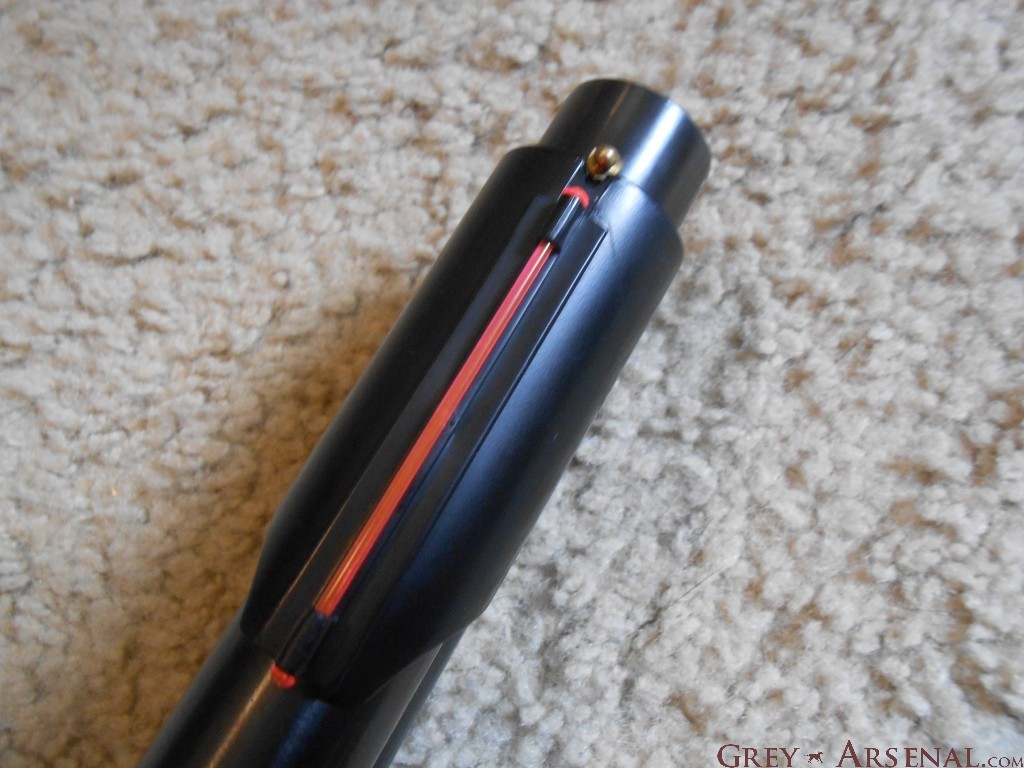
So, right to it- most important is Safety Lever location, which is pretty obvious in this case. Rear for Safety ON, Forward for Safety OFF (pictured) showing red.
- The Mossberg 500/590 line varies in magazine capacity, so here’s a breakdown of Capacity by model for 2 3/4″ and 3″ shells:
- 835 Models: 5+1
- 535 Models: 4+1
- 500 Models: 5+1, 7+1 with high-capacity Magazine Tube
- 505 Models: 4+1
- 590 Models: 8+1
Note: As mentioned in the manual, many are shipped new with a wooden dowel rod in the end of the magazine tube to limit magazine capacity due to Migratory Bird Laws (capacity limit for hunting). Additionally, “Bantam” models include a dowel that limits capacity to 1+1. If there’s demand for it, I’ll expand this post with removal instructions.
On to LOADING:
There are two parts here that I’ll be showing, which makes it less confusing than the way it’s laid out in the manual.
The first part is if you would like to load to maximum capacity, having one round in the chamber, action cocked, and kept with the Safety ON. This is how you would want to load the firearm if you were intending on carrying and using it, for instance when going out hunting, so that you can employ the firearm quickly and relatively quietly by just throwing the Safety OFF and ready to fire.
PART I: PRE-CHAMBERING A CARTRIDGE (if desired)
- Ensure the Safety lever is ON (rear, NO RED DOT)
- Cycle the action open (pump to the rear)

- Place one shell, facing forward, in to the Ejection Port, letting it fall and rest on the Loading Ramp.
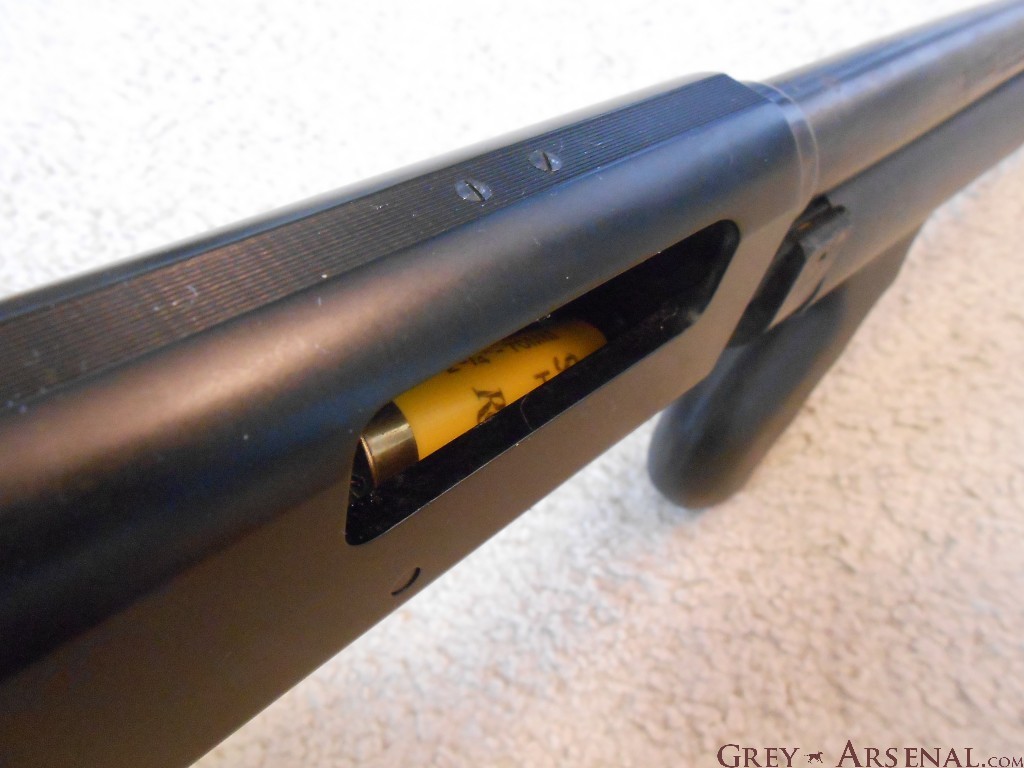
- Cycle action closed (move pump fully forward), chambering the shell.
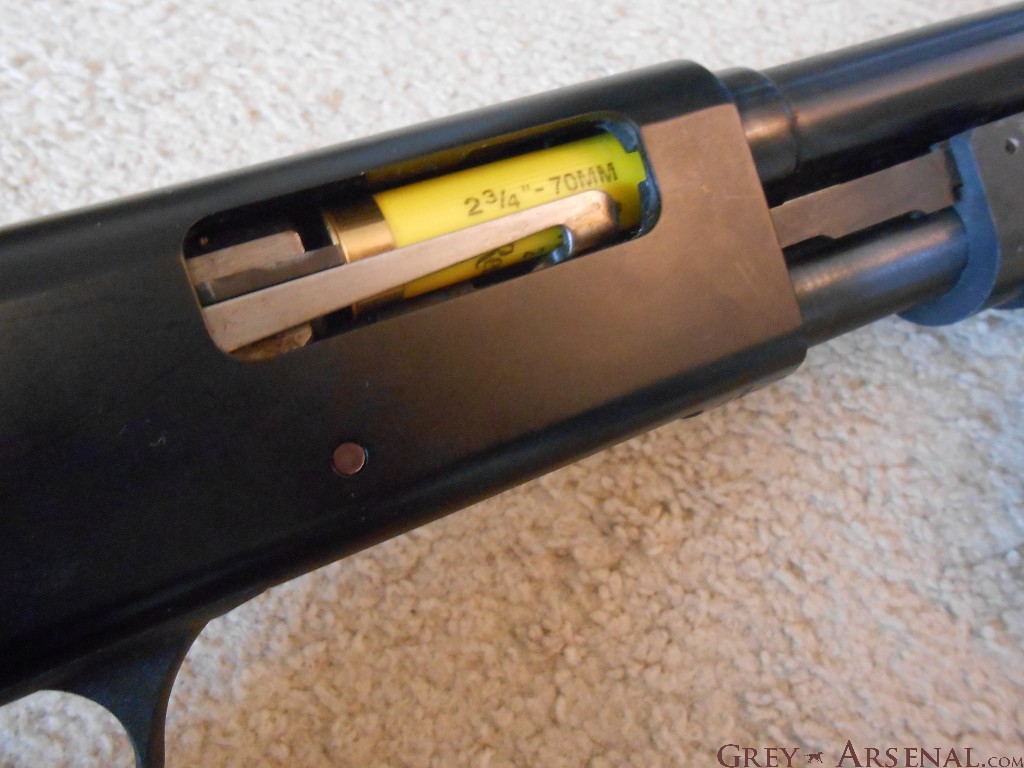
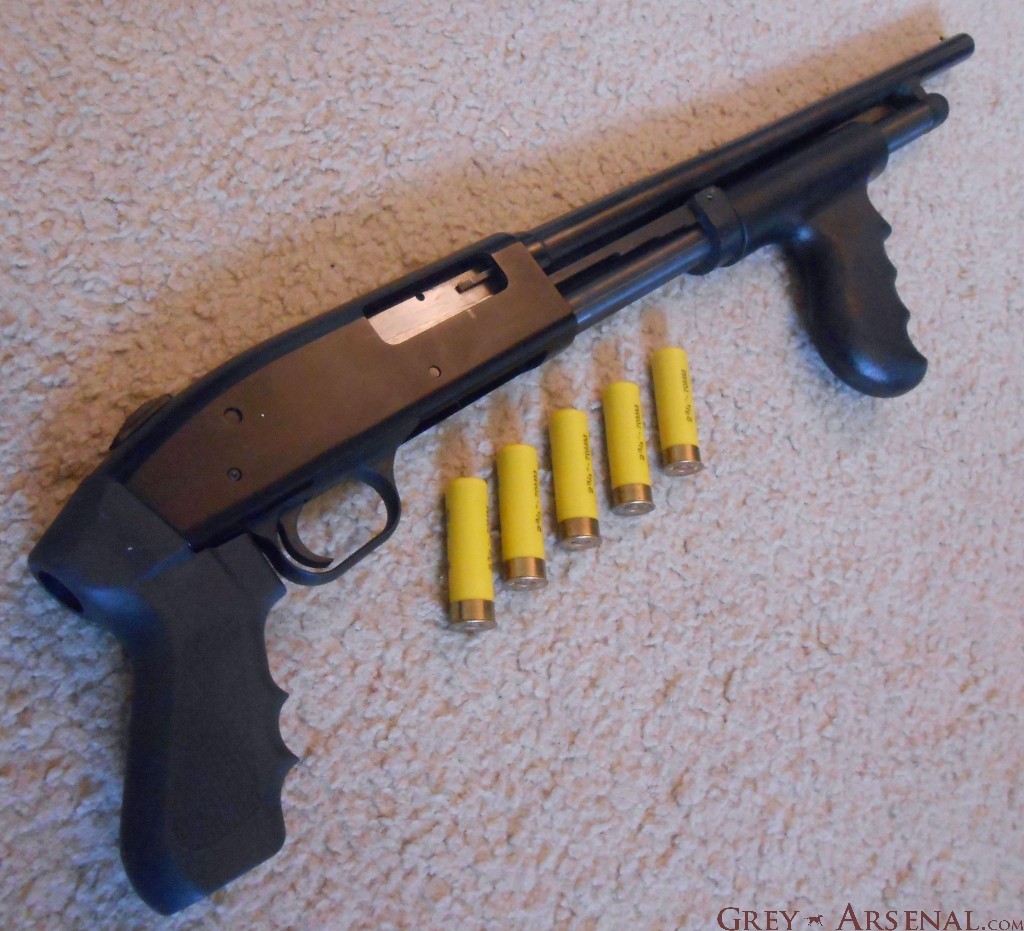
The second part is how to load the magazine tube. When done in addition to the above, you’ll achieve maximum capacity, and are ready to fire by simply switching the Safety Lever OFF.
Additionally, you could do this on it’s own without loading a round into the chamber. This is generally how most people keep the firearm if kept loaded to be used in a home-defense role. It’s thought of as *safer* and if needed, all that needs to be done is cycling (racking) the action. It’s often stated, but quite debated, about the psychological effect of a shotgun racking sound as a criminal deterrent- personally if they’re already in MY house, the best warning they’ll get is a Safety clicking OFF if they’re listening really closely, but to each their own.
PART II: LOADING MAGAZINE TUBE
- Rotate (cant) the weapon so that the Loading Port is accessible.

- Place shells facing forward into the port one by one, sliding them into the Magazine Tube until they’re secured by the Cartridge Stop (visible in picture above as a tab on the right side of the cartridge rim)

- Do this until you’re reached capacity. You’ll know you’re at capacity when you can no longer completely insert another shell.
UNLOADING:
Just like loading, unloading is done in two parts depending on whether or not there is a round chambered. First, I’ll cover removing the chambered round, as you’ll want to do this before further handling the firearm to unload the magazine. If stored WITHOUT a round chambered, skip to Part II.
PART I: UNLOADING THE CHAMBERED ROUND (and ensuring the next round in the magazine is not chambered)
- ENSURE SAFETY LEVER IS ON (REAR, no Red Dot)
- You’ll notice that you’re unable to cycle the action after it’s already cocked. In order to do so, you’ll have to depress the Action Release Lever to the left of the trigger. This is also a good visual indicator of whether or not the firearm’s action is cocked.
- Depress the Action Release Lever while slowly opening the action (moving pump to the rear)
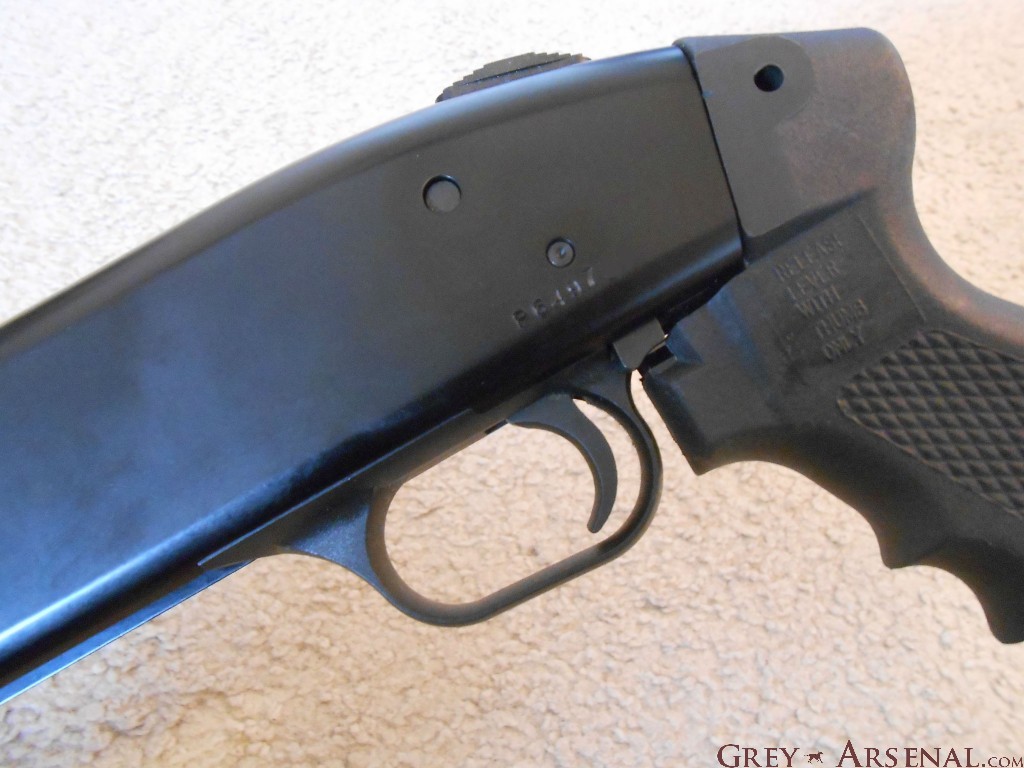

- With the Ejection Port facing downwards (towards a surface onto which you would like to eject the cartridge), complete cycling the action open (moving pump fully to the rear). This will cause the chambered round to eject from the firearm.
- This sets up the Feed Ramp to begin loading the next cartridge from the Magazine Tube, which we want to avoid.
- SLOWLY move the action just slightly forward, so that the next cartridge is released from the Magazine Tube on the Loading Ramp.

- While in this state, rotate the firearm over so that the cartridge can drop free out of the Ejection Port. It’s important not to move the action too far forward. If unable to be removed from the Ejection Port, just move the action slightly back toward the rear until it is able to be dropped free.
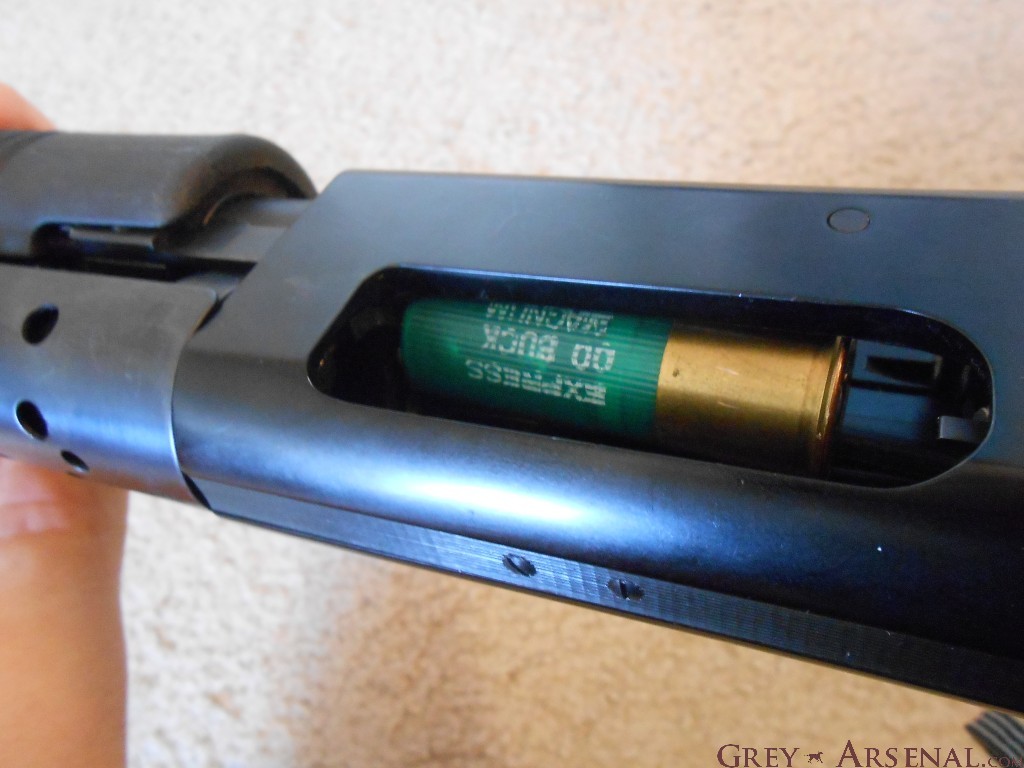
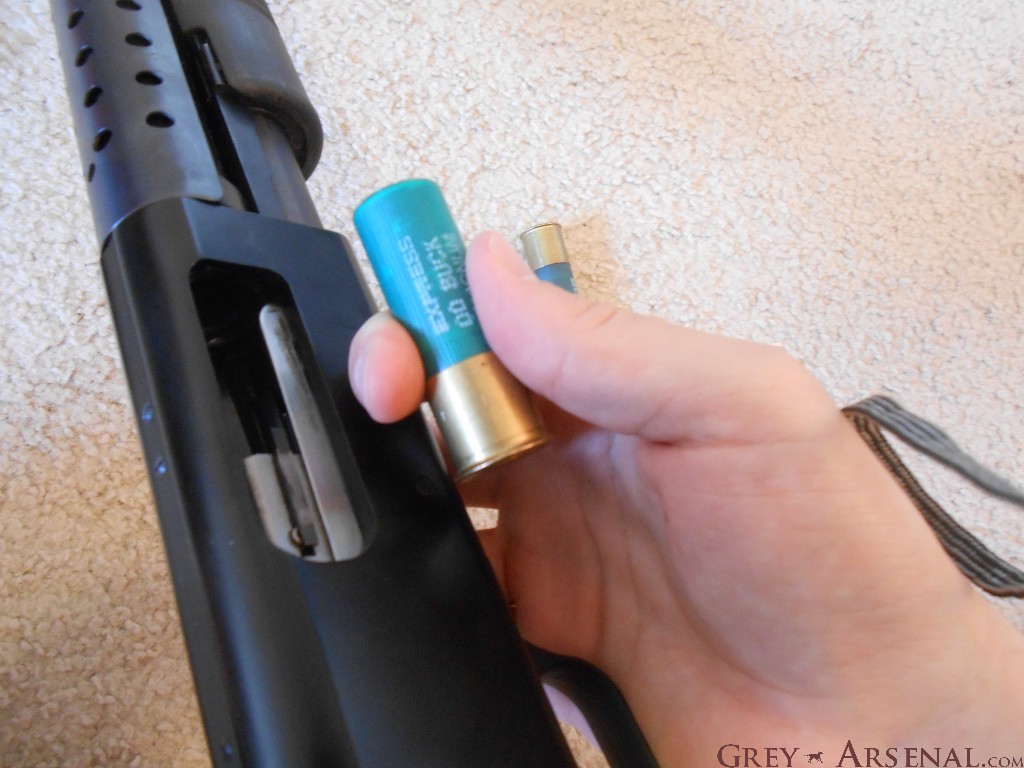
- After this is done, close the action (pump fully forward), while observing that no round is chambered. Proceed to Part II.
PART II: UNLOADING THE MAGAZINE TUBE
- This part’s easy. Rotate (cant) firearm so that the Loading Port is accessible.

- Remember I pointed out the Cartridge Stop earlier?

- Well you’re going to press on it (easier to do if you press closer to the round). With each press, the next cartridge in the Magazine Tube will pop out into the Loading Port, allowing you to remove it.

- Repeat until all rounds are removed and you can clearly see the Magazine Tube follower instead of the rear of a cartridge.
Well, there you go. If anyone would like any more detail, please let me know. I may eventually expand this post into maintenance / disassembly instructions, and how to remove the dowel rod from the Magazine Tube to increase capacity.
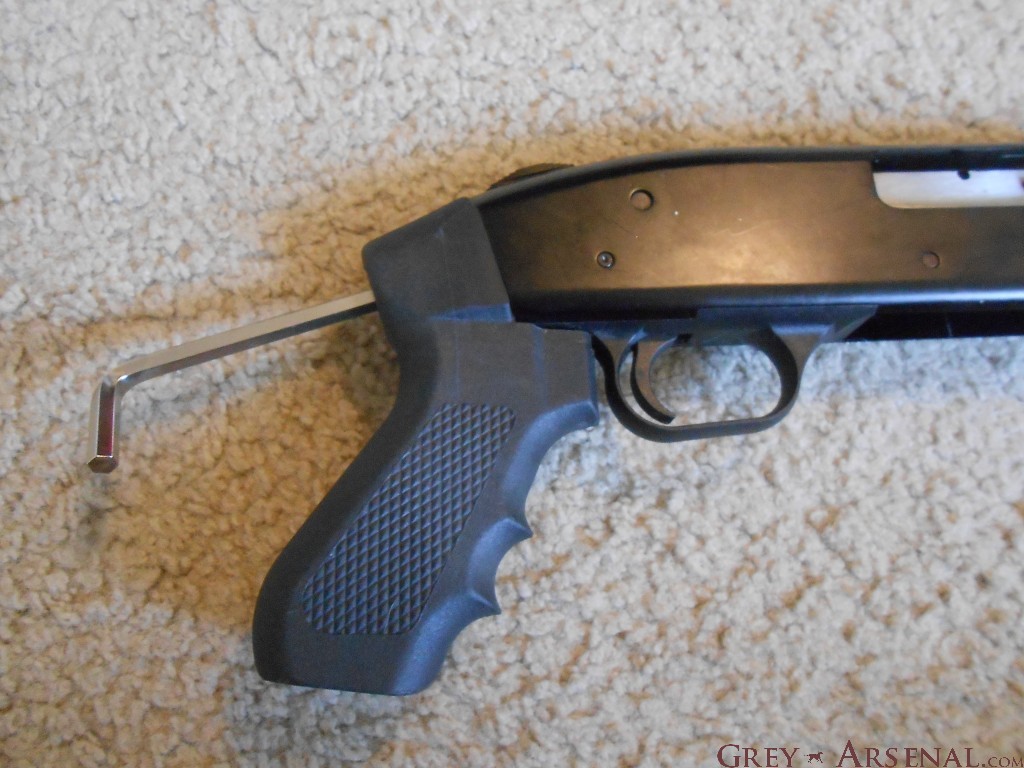
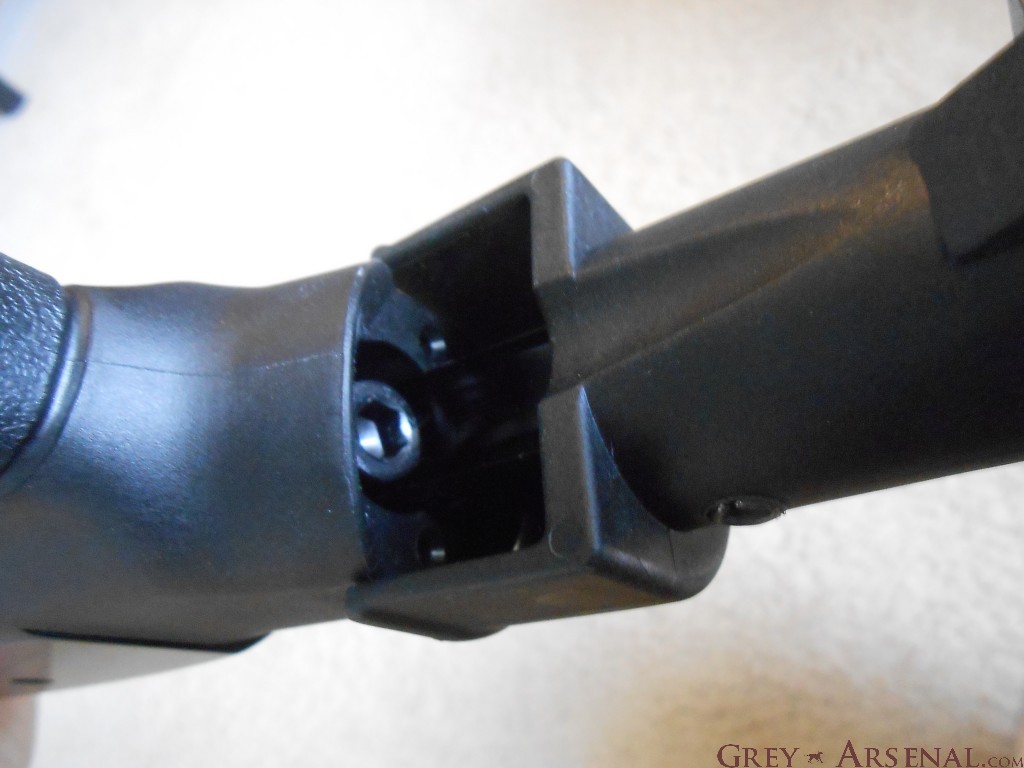
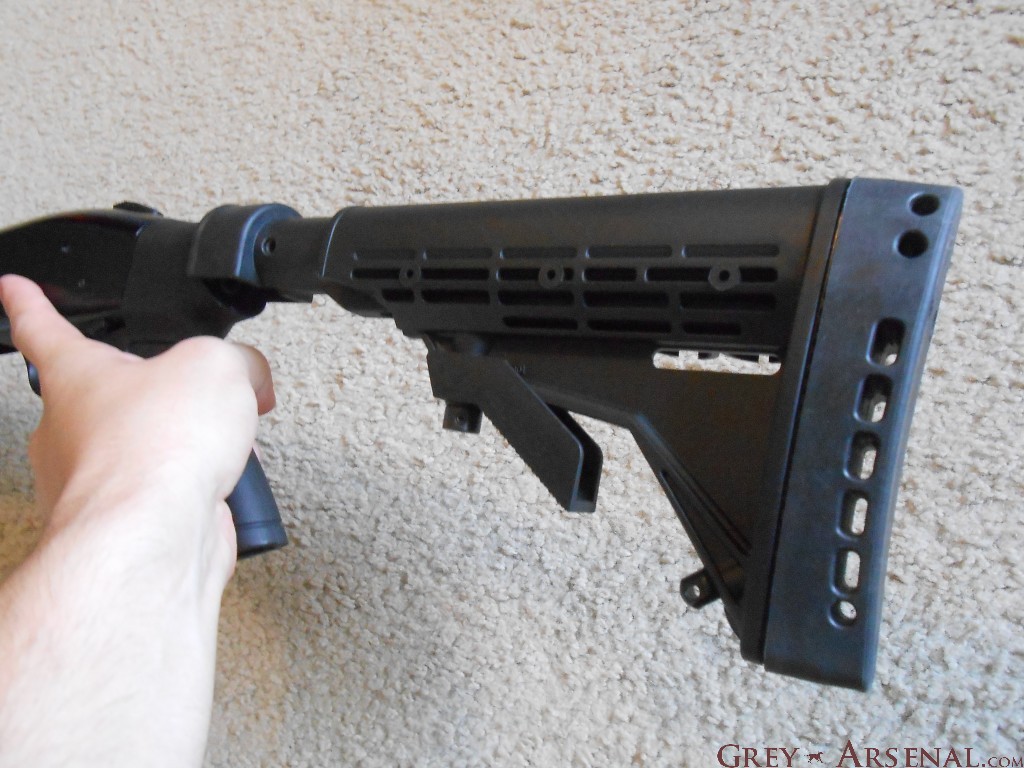
Also, see my previous post reviewing the Kicklite stock / Ultimate Arms Gear kit for the Mossberg. If you liked the foregrip shown on the 20ga Mossberg 500 in this review, check it out here.
